In cPanel control panel, each file and folder has a permission. These permissions are very important for this reason, the permissions of files and folders must be set correctly.
Permissions can allow our system to read, write and edit files and folders. some files must have full access to be able to display and work on them on the other hand, some files, due to their sensitivity and importance, should have limited access and their permissions should be limited.
Join us to learn how to set permissions for files and folders in cPanel.
How to Change File Permissions in cPanel
To get started, first log in to your hosting control panel using your information.
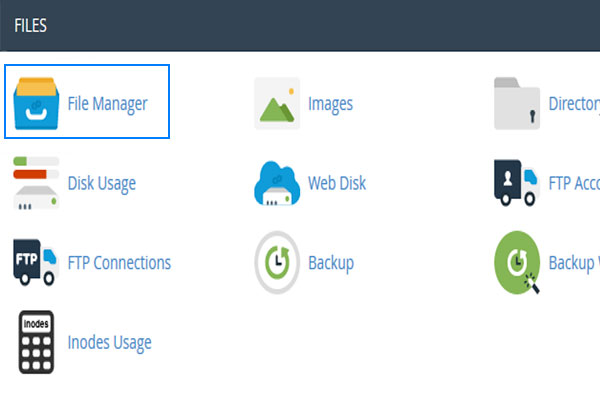
After entering the panel, click on the File Manager option from the files section. In the File Manager section go to the public_html folder, in the permissions tab, in front of each file or folder, you will see a number that has specified the permissions of that file or folder.
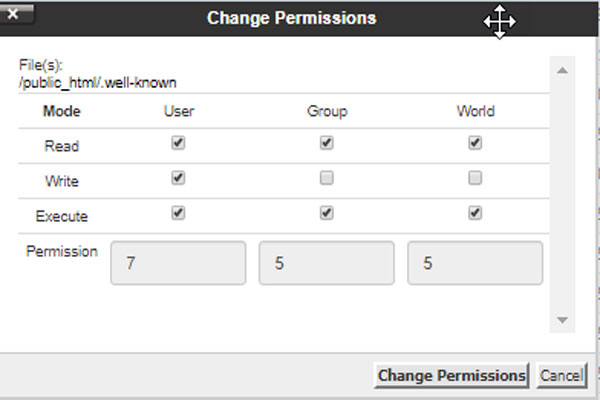
If you want to change the permissions of a file or folder, just right-click on it and select Change permissions.

This will open the permissions change window, where you can specify the permissions level of the selected file or folder by entering a number or selecting checkbox options.
for public_html folder, a permission of 750 is usually set
for files such as .html , .php = 644
for folders = 755
do not set 777 permissions for any file or folder because with this permission, you provide full access to a specific file or folder for everyone.
Once you have set up the permissions you need, click the Change Permissions button to finish and save the changes.
Now you have succeeded in changing the permissions of files and folders in cPanel.

